JellyPages.com

Followers

Showing posts with label Spray and Sparkle. Show all posts

Friday, 14 June 2013

Happy Birthday Carly!

I took a stall at my kids primary school Christmas Fayre last December and a young girl, upon seeing my Gorjuss Girls Christmas cards showed such excitement that I gave one for however many pennies she had left in her pocket - not many!
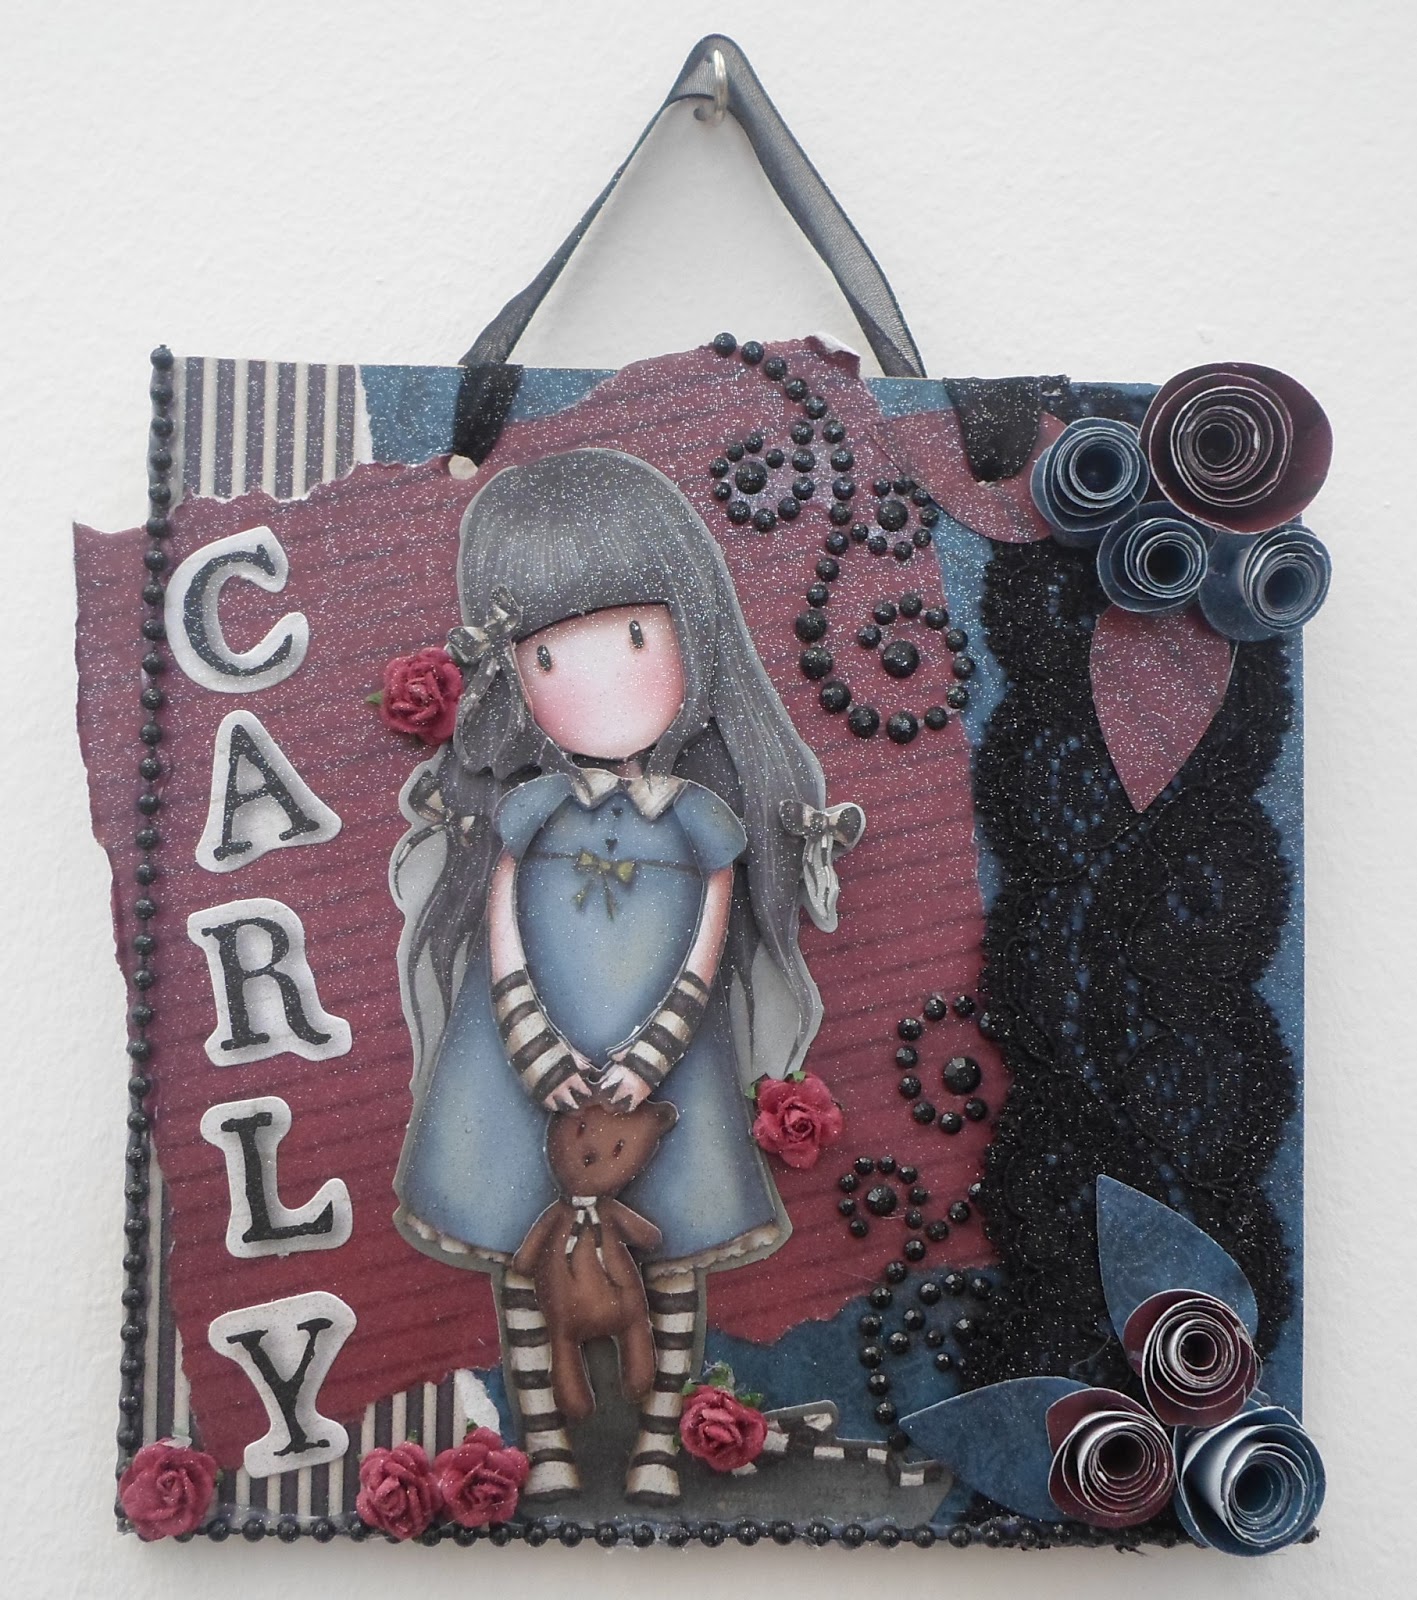
So, roll on last week. My son comes home from school with a birthday invite for this very same girl! I knew right away that I would have to do something Gorjuss for her and so here it is. If you've been here recently you'll already know that not only do I love my Gorjuss, I am also loving wall hangings just now so i've combined the two for Carly.


This is her card. For all the items I've used the DoCrafts Gorjuss range of papers, die cuts, ribbons and washi tape. Here I've just done some simple matting and layering, using two images, and have added black lace, mulberry paper roses and rolled black roses. 


I added some washi tape to the inside of the card and to the envelope as well.
 

My wall hanging is 6x6" and uses the same papers, rolled roses, lace and i've added beading and bling. I used the Gorjuss stickers to spell out Carly and have sprayed the whole thing with Silver Spray and Sparkle.


And finally, I made a tag to match for the gift bag.


I hope Carly has a lovely party tonight and can find room on her almost teenage girl bedroom wall to display her wall hanging.

Mo xxx

Saturday, 25 May 2013

Down the Memory Lane 1 Year Anniversary Celebrations!

Exciting blog post today! My Tsunami Rose Design Team mate, Nupur Patel is celebrating the first anniversary of her own blog - Down the Memory Lane!!! She has a whole fortnight of celebratory posts and has asked crafters from across the world to create something to help her celebrate - and I am honoured to say that she asked me to contribute!

I decided that it had to be something special - more than just a card - and when I opened a drawer I found a chipboard plaque! I decided on a wall hanging and then decided on a Gorjuss theme! The plaque is approx 12"x6" and has black organza tied on for hanging. There's a tag on there so I can personalise this later - possibly for my daughter once we get her room organised!


I have used the DoCrafts Gorjuss Ultimate Die-Cut pack and 12x12 papers pack. I used black acrylic paint to cover the edges and Mod Podged some papers on the plaque. I've used the die cut decoupage of the girl known as 'I found my family in a book' - one of my favourite Gorjuss Girls! Some other tags, frames and images from the die cut pack are also included on there.


I've used some ZVA creations adhesive bling and purple mulberry paper flowers. The Marianne Creatables Chinese Rose die allowed me to make rolled roses from a printed vintage french book page which was then sprayed with Tattered Angels Glimmer Mists in Fully Purple and Black Cherry.


The whole thing was then coated in Silver Spray and Sparkle to finish.


Many many congratulations to Napur and her blog! Why not pop over and have a go at winning some amazing blog candy while browsing the other featured artists!

Mo xxx

Friday, 24 May 2013

Mini Wall Hangings

I have been a busy bee the last few days! Got a few things coming up that i've been creating for and the first is a raffle donation!! The Wishaw Breastfeeding Support Group are having a pamper night in a few weeks time to raise much needed funds to continue to offer support to new and breastfeeding mums in my local area. This is a cause close to my heart, I have breastfed all four of my children and I know how important a good support system is in the early days or even if it is your third or fourth - having someone there to chat to or ask questions is so important!

I was approached by one of their committee members and asked if I would be willing to donate a prize for the raffle... I have made 4! I have three to show you here just now, the final one is a DT project that will be revealed here in a few weeks time and it was after making that first one I knew what I would make for the donation.

These are made using a 6x6 board book with the two metal rings to bind it - rather than making a book, I took each board individually and strung it with organza ribbon to make a mini 6x6 wall hanging.

This first uses papers and mini blooms from the Craftwork Cards Bohemian GoodyBag. I have covered the board in the glittered papers, put more of the papers through my cuttlebug with the Tim Holtz tattered floral die and added lace, beading and a pink gem for the centre of the main flower. A Craftwork Cards sentiment finishes the piece.


This next board uses papers from the Craftwork Cards Dolly Mixtures Collection - the Cheryl Papers and tickets. I've also used some of their kraft flowers which I coloured with promarkers and distress inks.Some crushed card candi, twine and liquid pearls finish this board.


The final board is slightly different and uses papers and die cut decoupage from the DoCrafts Gorjuss Girls collection. I've added some black lace, beading and bling, along with mulberry paper roses. Rolled roses were made using more of the Gorjuss papers and then this was sprayed with silver Spray and Sparkle.


All that remains is to make some gift boxes or gift bags to hold them and hope that they will be loved by the winners! I hope the night is great success and they acheive all they set out to do!

Perhaps you will join me tomorrow for a celebratory blog post!! All will be revealed in the morning!
See you then,
Mo xxx


Monday, 29 April 2013

My Cousin got married!

Well, what a beautiful day on Saturday! My wee cousin married his bride in Ayrshire in the sunshine - in poured rain Friday and Sunday so they were lucky! I made them a large 8x8 card using some of my favourite Craftwork Cards products and also made them a flower wreath for their home. My sister asked me to make a card that she could give them too as she had worked the 15 days straight before the wedding and hadn't had time to get to a shop!

So here goes, lots of photos today and not many words!


This is the card from me and my family, i've used the typewriter font stamps from Craftwork Cards with a Tuxedo Black Memento Ink Pad. Here's a close up of the blooms - I have made lots of paper flowers and you'll have seen some of my wreaths previously on the blog but I think this is my favourite colourway for the moment!


I used a die from Marianne Creatables called Chinese Rose which cuts spirals to allow me to make more of the twisted centres - i've used the chevron paper with the die for these.


This is the wreath that I then made -I considered giving the card a detachable wreath but I know that I have kept all my wedding cards and I thought it would be nice for them to have the card and a wreath seperate - Its actually my 13th Wedding Anniversary today and my wedding cards are tucked away in a cardboard box.... that might be a project - making a keepsake storage box for the wedding cards, new baby cards etc.... That's going on my 'to do' list!


A couple of close ups of the wreath blooms!


I unfortunately didn't have a box.... but being the crafty person I am.... I made one! I used the scoring blade for my Cricut Paper Trimmer and made a box 6"x6" with matching lid from pearlescent card.


I've decorated the lid with some of the small flowers left over from the card and wreath.


Luckily there were several other larger flowers left over from the card and wreath so these were made into a card for my sister to give.


I've used ice white card candi and the candi alphabet stamps from Craftwork Cards here for the names.
A simple 'On Your Wedding Day' stamp competes both cards on the inside.

Oh and since nothing is complete without glitter - both cards and the wreath were all sprayed liberally with Gold Spray and Sparkle!

Hope you like them! Thanks for looking!
I'll be back on Wednesday with my newest project for the Tsunami Rose Design Team!

Mo xxx


Sunday, 10 March 2013

Mod Podged Photo Frame

I thought this week i would change things up a bit and do a home decor project. I found two cheap round photo frames in a local charity shop for 50p each and as soon as I saw them i knew I wanted to do something with them! They had obviously been painted by the previous owner, one in lilac and one in pink. 
I painted one Veridian green as it goes well with some papers i have and the other I decided would stay lilac!


I will hopefully show how the green one turns out in a few days! Watch this space!


For the lilac frame I covered the front in Craftwork Cards Bohemian papers using the mini paper pad and with some ripping and tearing to keep it looking rustic. I have used Mod Podge to adhere the papers and once dry i then coated it with a layer of sparkly finish Mod Podge letting it dry.


I created mini bohemian blooms using the lilac sparkly flowers with White Opal liquid pearls and lilac card candi. I also took thin strips of the sparkly boho paper and created twisty tendrils. 


Here is my work station - I have used Cosmic Shimmer Acrylic Glue to create the flowers and to attach some crushed lilac candi around the centre hole in the frame. I then used PinFlair Gel Glue to adhere some ribbons and the flowers to the frame - I find this glue really useful with the super glittery papers!
 

To finish, I popped some Star Dust Stickles in the centre of each crushed candi and, as if it wasn't sparkly enough.... I sprayed the whole thing with Silver Spray and Sparkle!


To take a final photo of the frame... here is my youngest, Luke, for the cute factor! lol :)

I have a recipient in mind for this beautiful frame, i just hope they like it!
I hope you do too!
Mo xxx

Sunday, 3 March 2013

Paper Flowers!

I have been making paper flowers by the bunch recently! It is something to keep the hands busy while watching the tv, stops me digging into a bag of crisps or sweets etc and is therapuetic and calming. So what to do when the three, YES! Three tins, you have a are full to bursting with flowers?! Well, i made more wreaths!

You might remember my post a few weeks ago showing you my pink wreath, well, here i've gone and made some more as well as using left over flowers from that pink wreath to add to a birdhouse shaped card for a friend's birthday coming up soon. Get ready for lots of pictures! I wanted to show some of the pretty blooms in close up!

Each wreath has been made using Craftwork Cards products - chipboard shapes, die cut flowers, patterened papers and ribbons. The flowers were then attached using Pinflair gel glue and sprayed to within an inch of its life with Spray and Sparkle! The birdhouse shaped card and sentiment on there are also Craftwork Cards.

So here goes!

 
First up is the birdhouse card - i've used my candi upside down along the roof and popped some silver Stickles glitter glue in each.


Next up we have a very bright Spring coloured circle wreath - I'm thinking of giving this to a friend when her baby is born next month and really hoping she'll like it!


The next wreath i worked on last night is a pink and red mix with pink and red ribbons - its also my first heart shaped wreath - i've added a few small individual flowers between the hanging ribbon as I didn't realise 7 blooms wouldn't be enough! I think it works though.


And finally, some of the blooms I had made lend themselves very well to.... dare I say it.... Christmas! I didn't have a matching green organza so have gone with lots of red ribbons and sprayed it with gold Spray and Sparkle instead of the silver.


So that's where i've been at this week. I've got some Easter themed ATCs to make this week for a swap and I should really make a mother's day card for my mum.... oh and it's hubby's birthday on Wednesday - better not forget that!

Be back soon
Mo xxx


Wednesday, 13 February 2013

Pretty in Pink Wreath

One of my first blog posts talks about my winning a competition at Craftwork Cards, however, i had actually been a winner there a few weeks previously - I had made a comment on work by Karen Hayselden and been picked out the hat to win the prize that week. Karen very thoughtfully sent me more paper flowers!!! I got a beautiful set of 'oh-so-pink' blooms with matching ribbon and wreath - and some tunnel cards, but i'm still looking for inspiration with those!!! - so last night I sat and made a pretty pink wreath!


The wreath is chipboard, covered ina pink spotty paper, with red and pink organza ribbon tied through holes all the way round - with more ribbon to hand the wreath with. The finished wreath was sprayed several times with gold Spray and Sparkle to give it a glittery finish and the varnish makes the paper tougher!


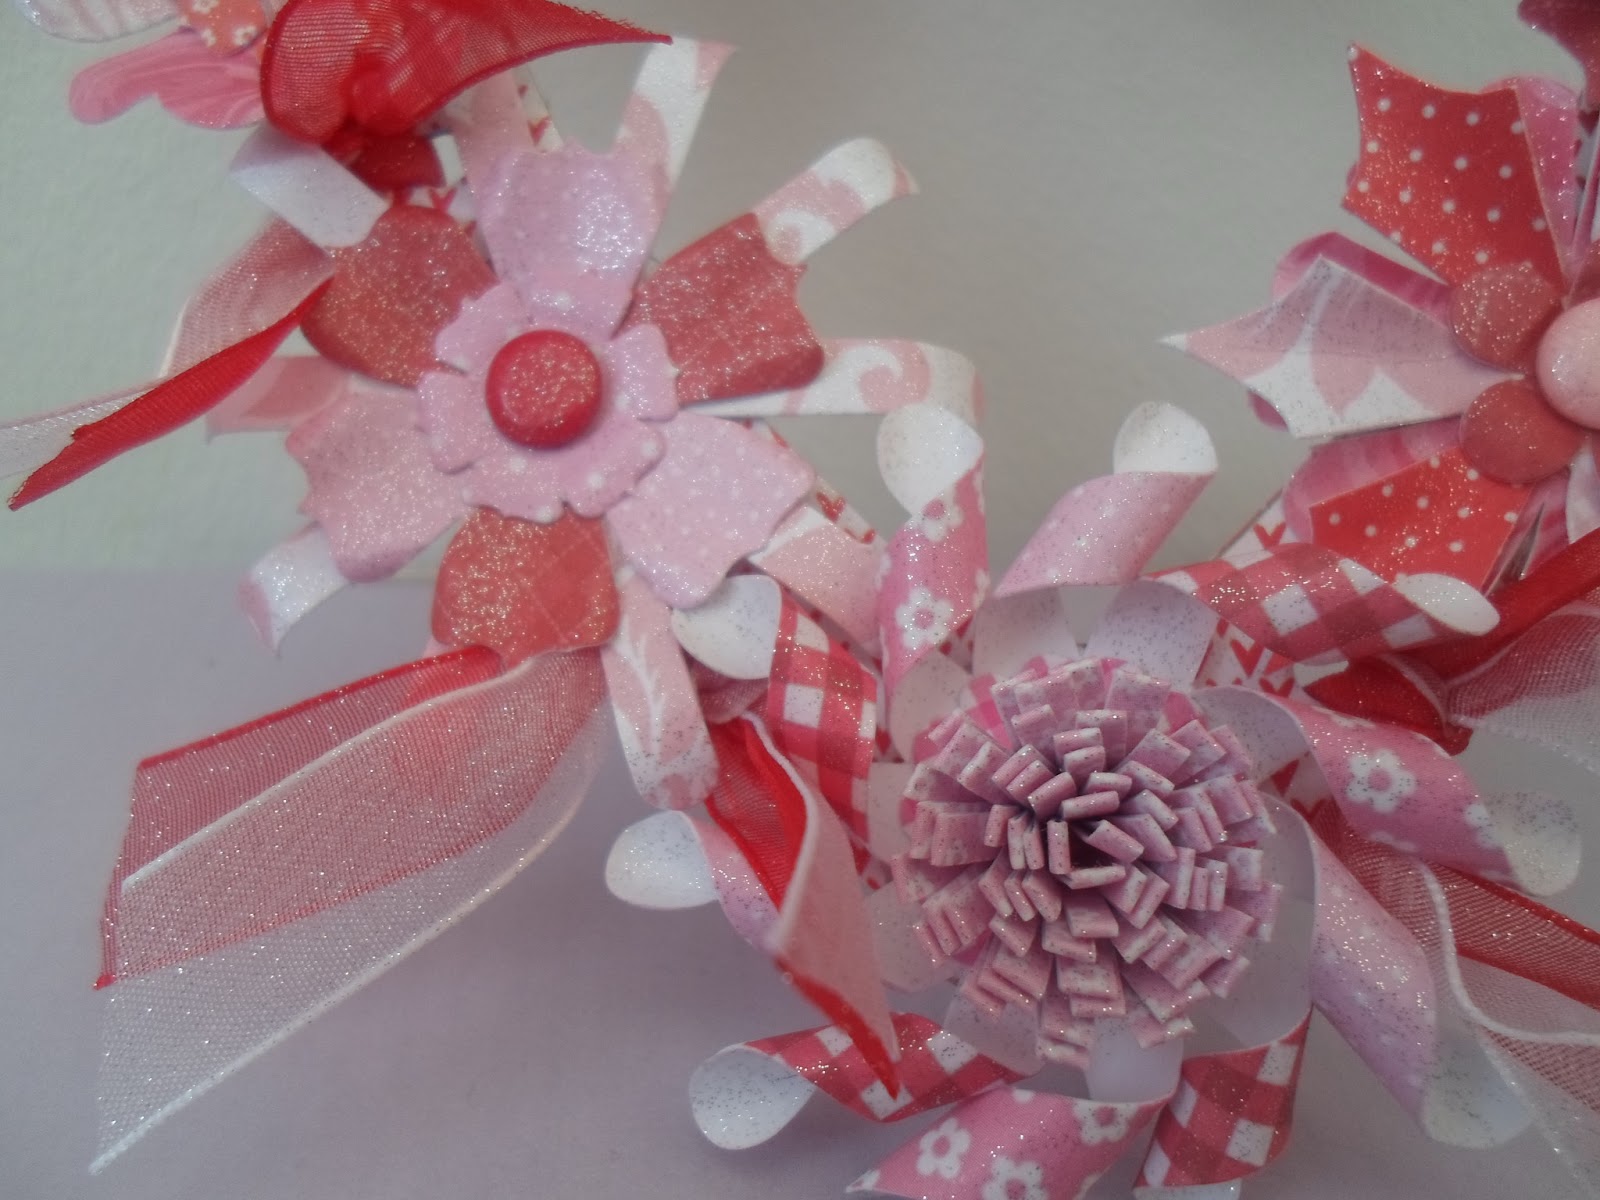
These photos show close-ups of some of the flowers - these are made by layering up individual blooms, a pokey tool is used to shape the petals and roll the spirals in the centres. Some red card candi fill the other centres.


This is a picture of the first wreath i made using the Craftwork Cards Sugarplum Flower and Paper Pad - i have since ordered a second pad as i ran out of flowers!!

I love how the wreaths turn out and have ordered more chipboard circles - watch this space for more in different colours!

I will be back later today with some birthday cards.
Mo xxx