JellyPages.com

Followers

Showing posts with label stamping. Show all posts

Wednesday, 10 April 2013

Tsunami Rose Designs Challenge #15 - Sketch Challenge


I have been so ill! I honestly cant remember the last time I felt this bad but the show must go on and here is my second DT Project for Tsunami Rose Designs! This week's challenge is a Sketch Challenge based on this sketch and using the Tsunami Rose 'Ephemeral Love Affair' paper pack available here.


I managed to finally get hold of a set of Tim Holtz Tattered Florals Sizzix Alterations dies and decided to try them out for this challenge using them on the beautiful pink distressed damask paper from this pack. I cut some hessian/burlap too and layered up the flower with a gem in the centre and a scalloped circle underneath.


It might be hard to believe, but in all my stash, I could not find a single butterfly!!! So, a smaller tattered flower was adhered at the bottom of the card too instead. I have stamped a sentiment directly onto the paper.


And to finish, some antique distressed seam binding ribbon in a double bow at the top. I ran some vintage photo distress ink round the edges of the flower layers just to give some added dimension as well. 


Well, here's hoping I will be back to normal soon, I have so much to do including wedding invitations for my friend's impending nuptials - I really ought to get them done or that might be a very quiet day!

Why not join us for this week's Wednesday Challenge - there's no need to use Tsunami Rose Designs but we love to see what you do with them!

Mo xxx


 Tsunami Rose Designs Links 

Monday, 1 April 2013

Altered Journal for Tsunami Rose Designs

Hope you are all enjoying the post Easter bloating and feelings of over indulgence!

Today I have been working on an Altered Journal for this week's Wednesday Challenge over at the Tsunami Rose Designs Blog! I am on the Design Team for April and have my first DT project ready to go on Wednesday but I'll tease you a little with this which I'm entering into the current Challenge!

I have used the Tsunami Rose Designs Lifes Abloom Printable Journal Kit to alter these pages - there are papers, tags, postcards, pockets, and lots of other ephemera to cut out and play with! You can order these from the Tsunami Rose shop here.


 For the front i've used the XCut Petal Posy dies to cut flower shapes from one of the gorgeous papers in the kit, i've adhered these with a diamante in the centre. I added lace ribbon down the outer edge at the spine and cream lace on the inside of the front cover - peaking out the edge. Two tickets and some more sparkle finish the front.


The flower on this ticket was painted with Tim Holtz Crackle paint in Clear Rock Candy and some heirloom gold perfect pearls rubbed into the cracks for a distressed look. I also added gold embossing powder round the edges using a glue pen and heat gun. 


These show the first two pages inside the journal - its a work in progress so i'll try and show more in a few weeks when I find more time to work on this! I've used more of the papers tags from the kit as well as a pocket. Some Tim Holtz stamps in Black Tuxedo Memento were stamped directly onto the page - i think this might be too dark.... One of the tabs from the kit finish the page.


This is very much a learning curve for me.... the first time i've undertaken such a large and potentially detailed project. I need to expand my stash and work on gathering more bits and peices to add to the pages.
I think I shall be working on this for some time!

Here's all the info you need for Tsunami Rose and you still have some time to enter this week's challenge!

Tsunami Rose Blog: http://tsunamirosedesigns.blogspot.com/
Tsunami Rose Zibbet shop: http://www.zibbet.com/tsunamirose
Tsunami Rose Etsy Shop: http://www.etsy.com/shop/TsunamiRose
Tsunami Rose Facebook Page: http://www.facebook.com/tsunamirosegraphicdesign
Tsunami Rose Facebook Group: http://www.facebook.com/groups/tsunamirosedesigns/


Mo xxx

Wednesday, 27 March 2013

'You're SEW Special...'

Well, I am on a roll with the Tsunami Rose Designs printable papers! I am totally out of my comfort zone.... scrap that - i am changing my comfort zone!!! I got a pile of lace ribbons in the post today and i will be ordering more tomorrow when i've got a few more pennies in the bank! I'm also loving the little flowers i've been using recently - I bought loads of these about 10 years ago when I started card making and haven't used them on anything since then - there are times when I'm glad I hoard!

I also found this fabulous set that my sister-in-law-to-be gave me for Christmas 2011... It had sat on my bookshelf feeling unloved but when i found it today I just know I'll be using the elements soon!! There are fabulous flowers and tags and twine and glassine envelopes and bling!!!


Well, the paper i'm using today is the Tsunami Rose Designs 'Vintage Clothes Pin' in Sepia which you can find in her online shop here! As soon as I saw it, it reminded me of clothes and ribbon and I dug out a kraft dress form, dressed her in lace and added a flower. The card blank is a Craftwork Cards Bobbin card - these are on clearance just now on their website!


I stamped some needles and thread on the background with my Tuxedo Black Memento ink pad and also stamped bobbins and a measuring tape on kraft card which i cut out. The purple colour is a Pro-Marker in Maroon and the measuring tape and dress form have some Dusty Concord Distress Ink on them too.


I wrapped some gold stretchy cord around the bobbins and to make a 'waist' on the dress form and attached everything with 3D foam. A length of my new purple lace was attached along the bottom of the card with Cosmic Shimmer acrylic glue.


Hope you like!!
I'll be back at the weekend with my sons 3rd birthday card! He picked the robot for it!
Mo xxx


Here are the links for all your Tsunami Rose Design needs -

Tsunami Rose Blog: http://tsunamirosedesigns.blogspot.com/
Tsunami Rose Zibbet shop: http://www.zibbet.com/tsunamirose
Tsunami Rose Etsy Shop: http://www.etsy.com/shop/TsunamiRose
Tsunami Rose Facebook Page: http://www.facebook.com/tsunamirosegraphicdesign
Tsunami Rose Facebook Group: http://www.facebook.com/groups/tsunamirosedesigns/ 

Tuesday, 19 March 2013

A Very Exciting Announcement!

I am freezing!!! There a mountain of snow outside and it hasn't stopped in about 14hours! Its crazy snowy here! But I have some fabulous news to warm my soul!

I discovered Tsunami Rose Designs via Pinterest a few months ago - I found a pin board full of card sketches including some that i've used on the blog here before and a load from Tsunami Rose. I hopped over to follow them on Facebook and love looking at the myriad of inspiration on their blog. The designs are digital papers to be downloaded and printed to your heart's content! Journal kits, 6x6 and 12x12 papers, mixed printed ephemera, beautiful stunning designs - they are mixed with your stash... ribbons, buttons, pearls, glitters, lace to make vintage inspired cards, layouts and altered art - totally yummy designs!

So imagine my excitement when Tsunami Rose Designs put out a Design Team call on their Facebook page! I sent them a message and heard back from the lovely Daisy Collins - designer extraordinaire! I've been accepted! So watch this space in the next few weeks for Tsunami Rose DT duties!

Today though, I have a beautiful paper to show you all - Vintage Rouge in black and Pink - available for download from Tsunami Rose Designs here.

I really wanted my first effort to be fab and i'm not entirely sure this is! I started a couple of projects with this paper and my 7year old daughter has actually made a better card than mine i think! Maybe if i'm brave enough I'll show you some of her work tomorrow!


This is a 6x6" square card blank tinted round the edges with Vintage Photo distress ink and stamped using Black Tuxedo Memento using stamps by Craftwork Cards. The tag started out life as lilac which i again tinted with vintage photo and some black round the edges. I cut the Vintage Rouge paper to match the tag, distressed the edges with a Tim Holtz paper distresser tool and more Vintage Photo. Curled edges add to the effect.


I added some lace ribbon and white opal Liquid Pearls and a segment of a paper doilie. I cut a few spirals of Vintage Rouge and some black paper so make into flowers and adhered - adding more liquid pearls in the patterned paper and Star Dust stickles in the black flowers.


Some black satin ribbon was added along with a few crystal accents and a distressed sentiment in the same colours. I then adhered the tag to the base card.


Another shot of the finished card from the side i an attempt to show the depth of the embellishments. I didn't put the tag on 3D foam as the flowers are quite deep already.

I really hope you like this, my first make for Tsunami Rose Designs! I very much look forward to joining the team and creating more inspiration for you with their fabulous designs.

Mo xxx

You can find Tsunami Rose Designs here and join in with their weekly challenge on a Wed!

Tsunami Rose Blog: http://tsunamirosedesigns.blogspot.com/
Tsunami Rose Zibbet shop: http://www.zibbet.com/tsunamirose
Tsunami Rose Etsy Shop: http://www.etsy.com/shop/TsunamiRose
Tsunami Rose Facebook Page: http://www.facebook.com/tsunamirosegraphicdesign
Tsunami Rose Facebook Group: http://www.facebook.com/groups/tsunamirosedesigns/

Sunday, 24 February 2013

Blog Challenges on a Sunday!

I have had great fun last night and this morning creating some 6x6" square cards to submit in 4 different Blog Challenges today and here they are in no particular order!

Over at Retro Sketches this is week 52 so we were asked to go back through the last year's challenges and pick one to do this week - I have chosen Retro Sketch #9.


My take on this sketch uses Craftwork Cards Sweet Pea papers and flowers with some purple jewellers cord and Craftwork Card Birthday message. I have used Tim Holtz Distress Ink Pad in Dusty Concord around the edges of the card, flowers and message and some Worn Lipstick Distress Ink to colour the sentiment. Some Card Candi centres in the flowers and no glitter today... I might have to go back and rectify that!

My next Challenge Submission is for Seize the Birthday #7 Feminine Challenge.
Seize the Birthday are all about Birthday cards and getting a balance between masculine and feminine designs - I love their idea of the same sketch but for different gender!


My take on this sketch uses LillyBeeDesigns Victoria Park papers and 'My Mother's Dress' Rubber stamp - one of my favourites, i've had for years! I've added a Craftwork Cards sentiment and black organza ribbon. Edged the card in black ink and the image and sentiment in Worn Lipstick.


My next card I thought I would be able to enter into three challenges but when it was finished it had become more involved than I expected so I didn't think it suitable for a 'Clean and Simple' card challenge! This one is being entered into the Addicted to Stamps and More Theme Challenge #6, - 'Vintage', and Craft Room Challenge - 'Something for a Man'.


I have used a black base card and some black and white papers i found in my stash - if anyone knows what there are please let me know! I have tinted the papers with a 'Vintage Photo' Distress Ink Pad using a foam blending tool - keeping the tone uneven, darker in places, lighter in others. I cut some of the harlequin type paper, matted onto black card and wrapped with black jewellers cord. The Ticket and Car are Tim Holtz Stampers Anonymous stamps in Tuxedo Black Memento ink - the car on white card tinted with vintage photo and edged in black. The tickets are kraft card with a Craftwork Cards birthday stamp in the centre one. Bit of black organza ribbon, some foam pads for definition and voila!

So, having decided this card was too detailed to be CAS I created a simpler version! This is my entry for Addicted to CAS #7 - code word Masculine.


The same harlequin paper and stamps were used, more vintage photo distress ink and black memento around the edges. Black jewellers cord around the card and a sentiment stamped onto a kraft ticket to finish - Clean and Simple.... I hope!


Mo xxx

Wednesday, 20 February 2013

Sarah Hurley Blog Hop Prize and CAS on Sunday #2

I won another prize! Sarah Hurley, illustrator and designer, hosted a blog hop recently in honour of the launch of her new website - sarahhurleydesigns.co.uk

On the hop, i decided that my favourite item in Sarah's online shop was her set of 3 hand drawn Rose digi stamps. As my prize, she very kindly sent me these stamps! Thank you so much Sarah - the roses are gorgeous! They can be found here!

I have never ever used a digi stamp! I rarely use rubber stamps! But i'm getting into this and loving it! I bought some Pro-markers and printed the bigger of the roses and set about colouring it just with what i had available.

I have used this stamp on this weeks CAS on Sunday blog Challenge.


The Challenge this week was called 'Making the Rounds' with theonly instruction being, make a round card - in a clean and simple manner of course!

I glued the image to a base card, added a red organza ribbon and stamped 'I love you.' with my Tuxedo black Momento pad. Very simple, stylish, and very much a first for me.

I'm happy with the results, I feel on reflection that I could have used a different colour base card - perhaps red or black. I think maybe not having the flower in the centre would have given more scope for other embellishments around the edges or perhaps down one side/along the bottom.....
So many ideas for the next one!

Mo xxx

Thursday, 14 February 2013

Valentine's Day 2013


In honour of the Day of Love, i thought i'd share with you some of the Valentine cards i've made this year. This post will be picture heavy - enjoy!!!

 
This first card uses Red Mulberry paper and the waste from a Cricut Heart, small white heart and sentiment complete the card. This is my entry for this weeks (week 31) CASology Challenge.


 Some more cards in no particular order!
These first two use my trusty Cricut and have Star Dust Stickle accents on the lettering. A couple of Sizzix Lacy Heart embosslets adorn the 'boyfriend' card.


These two cards use a Spellbinders paisley M-Bossibilities for the background. The 'valentine' is cut from a Tim Holtz embossing folder and the hearts on the second card are cut by the Cricut.


The black and red card uses a quickcutz heart die and sizzix embossing folder with more red mulberry paper. 'For My Wife' was cut on the Cricut and I have used Craftwork Cards Sugarplum papers and flowers to decorate.

These next three cards are all made using the same Tim Holtz Sizzix Embossing Folder but in the different styles. This first is a vintage look with distressed boho papers from Craftwork Cards and matching mini blooms. The 'love' has been highlighted with Crackle Glaze - its not as brown as that in 'real life'!


 Some simple matting and layering of the embossed background for the second two cards. Stickles to highlight 'love' on the red and purple card and the Pink and Black was embossed onto Core-Dinations colour core paper and sanded - Glossy Accents has been used to highlight 'love' here this time.


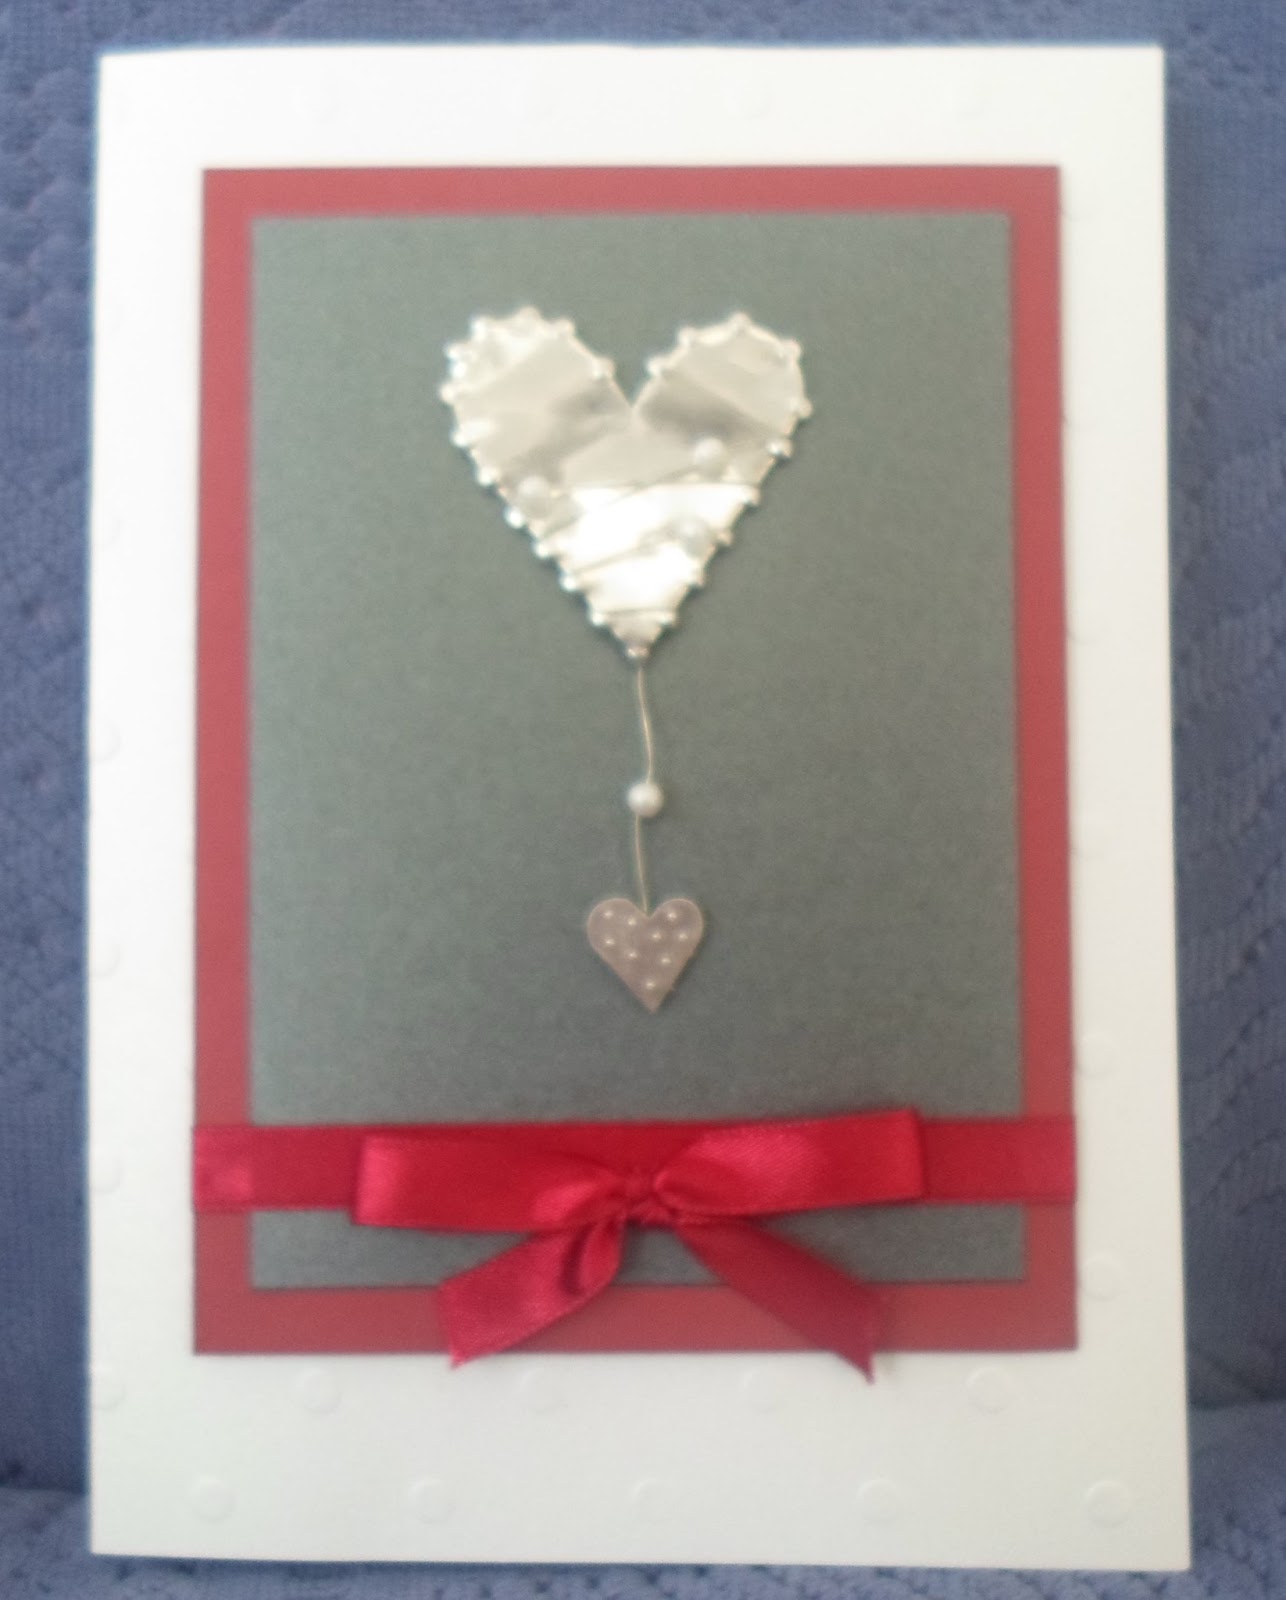
An elegant metal heart and simple mat and layer make this a chic and simple card. The scalloped squares with random cut hearts was designed on the Cricut craft room and i think makes a simple, pretty card.


These last two use a set of Craftwork Cards stamps and papers - i just love how one set of stamps can look anyway you want it to just by changing the colours - simple and pretty here.


Busy day today, taking my youngest two to toddlers this morning and i've got a few challenges I want to work on later today - I'll show what I come up with.... well, if I come up with anything!
Thanks for reading!
Mo xxx