JellyPages.com

Followers

Showing posts with label Altered Art. Show all posts

Wednesday, 3 February 2016

Trimcraft Sweet Paris Altered Frame - Crafting By Designs

Good morning. Well, I know I've not been around much, but I do have some fabulous news to share!
I was a winner over on the Trimcraft website and won the most fabulous First Edition Flower die set. However, I am also now excited to announce that I am a Demonstrator for Trimcraft! I had my first demo day at The Range in Perth (Scotland) on the 24th of January and I will be back there this Sunday the 7th of February for another day.
So here is a frame that I have altered and posted today on the brand new Anything Goes challenge at Crafting by Designs. I have used the Sweet Paris 12x12 paper pad and covered the frame with a sheet of the damask paper.
I painted the edges of the frame with Ranger Copper Distress Paint and then spent some time die cutting using the First Edition flower dies. I have layered up flowers and embellished with Sweet Paris sticky pearls, Dovecraft clear glitter glue and Dovecraft 3D Pearl around the edges of the frame.
The swirly die is from Die-namics and I've set a section of a 12x12 paper inside the frame till I find a photo... or perhaps I will just keep it there!

Thanks for looking!
Mo xxx


Saturday, 26 October 2013

Altered Kids Board Book for Tsunami Rose Designs

Well folks, it's my turn to show you another project using the Tsunami Rose Designs 'Witches Brew' Printable Journal Kit. This is a Halloween themed kit with decorative papers, journalling pages and printable ephemera and sentiments. I absolutely love it and have decided to use it to alter a kids board book this week. I started with a small 3" sqaure book of nursery rhymes!


Each page was then covered with the papers - I have used Mod Podge to adhere the cheets to the book but I guess you could use your favourite adhesive or PVA glues. Once dry, I ran a craft knife around the edges to tidy them up and then sanded them down with sandpaper for a smooth finish and to get rid of raggedy rough edges.


I started fussy cutting a few of the images from the ephemera sheets, some sentiments and a a few of the tags ready to fit into the book. As its a board book there is not a lot of room for dimension, however, I've got a few bits of bling in there and the fact that the book does not close fully just gives a bit more character!


This is the cover and I have used hot glue to attach some ribbon to the outer edge at the front and back of the book. I used a vintage girl and pumpkin image with sentiment. I've also attached some head pins, roses and adhesive pearls to finish the front. 


The first double page I have used some of the journalling pages with some 'Black Soot' distress ink around the edges. I added a sentiment to the left and used an image to make a pocket on the right side.


In the pocket is a double sided tag with sentiment and ribbon for pulling it out. 


This is the next double page and you can see theback of the tag from the previous page. I used some Fired Brick distress ink on the edges here and some strips of orange diamantes along with some of the ephemera images from the kit. There is room here for a photo - my daughter is dressing up as a 'Zombie' Red Riding Hood this year and I figure that will go there!


The next double page is purely for adding some journalling. I have used the red journalling papers and added vinyl spiderweb stickers and strips of red diamantes here. More black and red distress ink around the edges here too.


The last double page I have adhered one of the larger images to some pearlescent orange paper and folded it down inside the page, the ribbon can be used to pull open the 'pop up' image. The right hand page uses one of the decorative papers with a 'happy halloween' vinyl sticker added. 


Here is the pop up opened fully and the back of the tag from earlier.


This is the back of the book with a poison warning label and more of the lace.


Wow!! Very picture heavy but you had to see all the pages to get a look at all the fabulous bits from the kit!

I hope that you have liked seeing this project, I loved making it and am off to look around the charity stores for more of the mini books to alter!

Thanks for looking!
Mo xxx


(Click Image to See Journal in Zibbet Shop)
(To see in Etsy Shop click here)


Tsunami Rose Designs Links

Wednesday, 29 May 2013

Tsunami Rose Designs Challenge #22 Friendship

Hi everyone, i'm back today with my latest creation for Tsunami Rose Designs. This was the first 6x6 mini wall hanging that I created. You might remember that I had a blog post last week with three other mini wall hangings - this is the one that started the craze!

This has been made with a page from a 6x6 chipboard album that has been covered with birdcage paper from the Victoria Park paper pad by LilyBeeDesign. All the printed ephemera is from the Tsunami Rose Shop - you will find all the links you need below!


I have used printable ephemera from the sample sheets in the stop this month and adhered to the board. I've also then added lace trim along two sides, some paper flowers and some bling along the other sides.


The bingo card was printed twice, the flowers fussy cut and attached using 3d foam and then covered with Glossy Accents.

I hope you like my project this week - I can see many more of these in my future!!!
Why not join us over at Tsunami Rose for the new challenge and see what my design team mates have created too!

Thanks for visiting
Mo xxx


 Tsunami Rose Designs Links  

Saturday, 25 May 2013

Down the Memory Lane 1 Year Anniversary Celebrations!

Exciting blog post today! My Tsunami Rose Design Team mate, Nupur Patel is celebrating the first anniversary of her own blog - Down the Memory Lane!!! She has a whole fortnight of celebratory posts and has asked crafters from across the world to create something to help her celebrate - and I am honoured to say that she asked me to contribute!

I decided that it had to be something special - more than just a card - and when I opened a drawer I found a chipboard plaque! I decided on a wall hanging and then decided on a Gorjuss theme! The plaque is approx 12"x6" and has black organza tied on for hanging. There's a tag on there so I can personalise this later - possibly for my daughter once we get her room organised!


I have used the DoCrafts Gorjuss Ultimate Die-Cut pack and 12x12 papers pack. I used black acrylic paint to cover the edges and Mod Podged some papers on the plaque. I've used the die cut decoupage of the girl known as 'I found my family in a book' - one of my favourite Gorjuss Girls! Some other tags, frames and images from the die cut pack are also included on there.


I've used some ZVA creations adhesive bling and purple mulberry paper flowers. The Marianne Creatables Chinese Rose die allowed me to make rolled roses from a printed vintage french book page which was then sprayed with Tattered Angels Glimmer Mists in Fully Purple and Black Cherry.


The whole thing was then coated in Silver Spray and Sparkle to finish.


Many many congratulations to Napur and her blog! Why not pop over and have a go at winning some amazing blog candy while browsing the other featured artists!

Mo xxx

Friday, 10 May 2013

Bohemian Floral Altered Box

I have boxes, some are plain, boring brown ones, others are fancy Gorjuss tins, some are re-purposed ice cream tubs - this box was a Christmas gift box, it was black with red and gold images on both the sides and the lid. I use it to store ribbon rolls and it hides in the cupboard when not in use. I decided to pretty it up!!!


I took the lid, gesso'd around the edges and while it dried dug out my Craftwork Cards Bohemian Goody Bag (this is from last year but I loved it so much I bought extra plain and glittered papers in their January Sale!) I used Mod Podge to adhere a sheet of paper to the lid - it has a bird in a cage design with keys and musical notes in the background.


My hot glue gun was put into action to attach the lace around the edges of the lid - I chose a wide lace so it would cover the edges and hang down around the box - and then again to attach the pearl beading around the lid.

If you've seen my blog before, you may be aware that I love my paper flowers! I have been known to sit and make them - 'just cos' and some of the aforementioned tins are in fact full of blooms ready for the next project! These lilac boho blooms, however, did not come out of a tin!!! I sat watching some tv and created the mini blooms from glittered die cuts from the goodybag. The card candi attached is lilac with white spots and the tiny rolled centres have liquid pearls in too.


The rolled paper roses at the bottom left corner were die cut using Marianne Creatables Chinese Rose - the leaves are also from this set. Again they were cut from glittered boho papers. The top right corner has the same candi, crushed, with lavender Stickles in the centres. Crackle Accents was used on the key image at the top right near the candi for extra effect and some Lace stickles on the image of the bird printed in the cage.

The die cut birdcage comes from a new Craftwork Cards goody box and i've coloured it with a lilac promarker to match the papers, adding lace and lavender stickles to highlight it. The two glittery birds were cut from the glittered boho paper using a template also from Craftwork Cards. Some narrower decorative lace fills the gaps on each side.


The four sides of the box have been covered with more of the glittered paper stock - I was considering adding some dimension to the sides but this is still very much a used, practical item, it's full of ribbon as I type, so I think I will leave it as is.

I have ordered some lace to add to the corners where the paper meets on the sides - but mr postman hasn't brought it yet! I will try and post an updated piccie as and when it gets done! It may take some time... I have several projects on the go right now - cant wait to show you all! Stay tuned!

mo xxx


Wednesday, 24 April 2013

Tsunami Rose Challenge 17: Color Challenge


I'm back!!! I'm over the flu, the family are all doing better and I've been crafting yesterday for the first time in about 3 weeks!!! Itchy fingers and raring to go! But, hubby has started a new job and I have a wedding to attend on Saturday so I might not get back to crafting for another few days!

Well, this project is my next Design Team project for Tsunami Rose Designs and it is for this week's Wednesday Challenge #17 - Colour Challenge. This uses papers from the 'Yesterday's Commodity' paper pack available here.

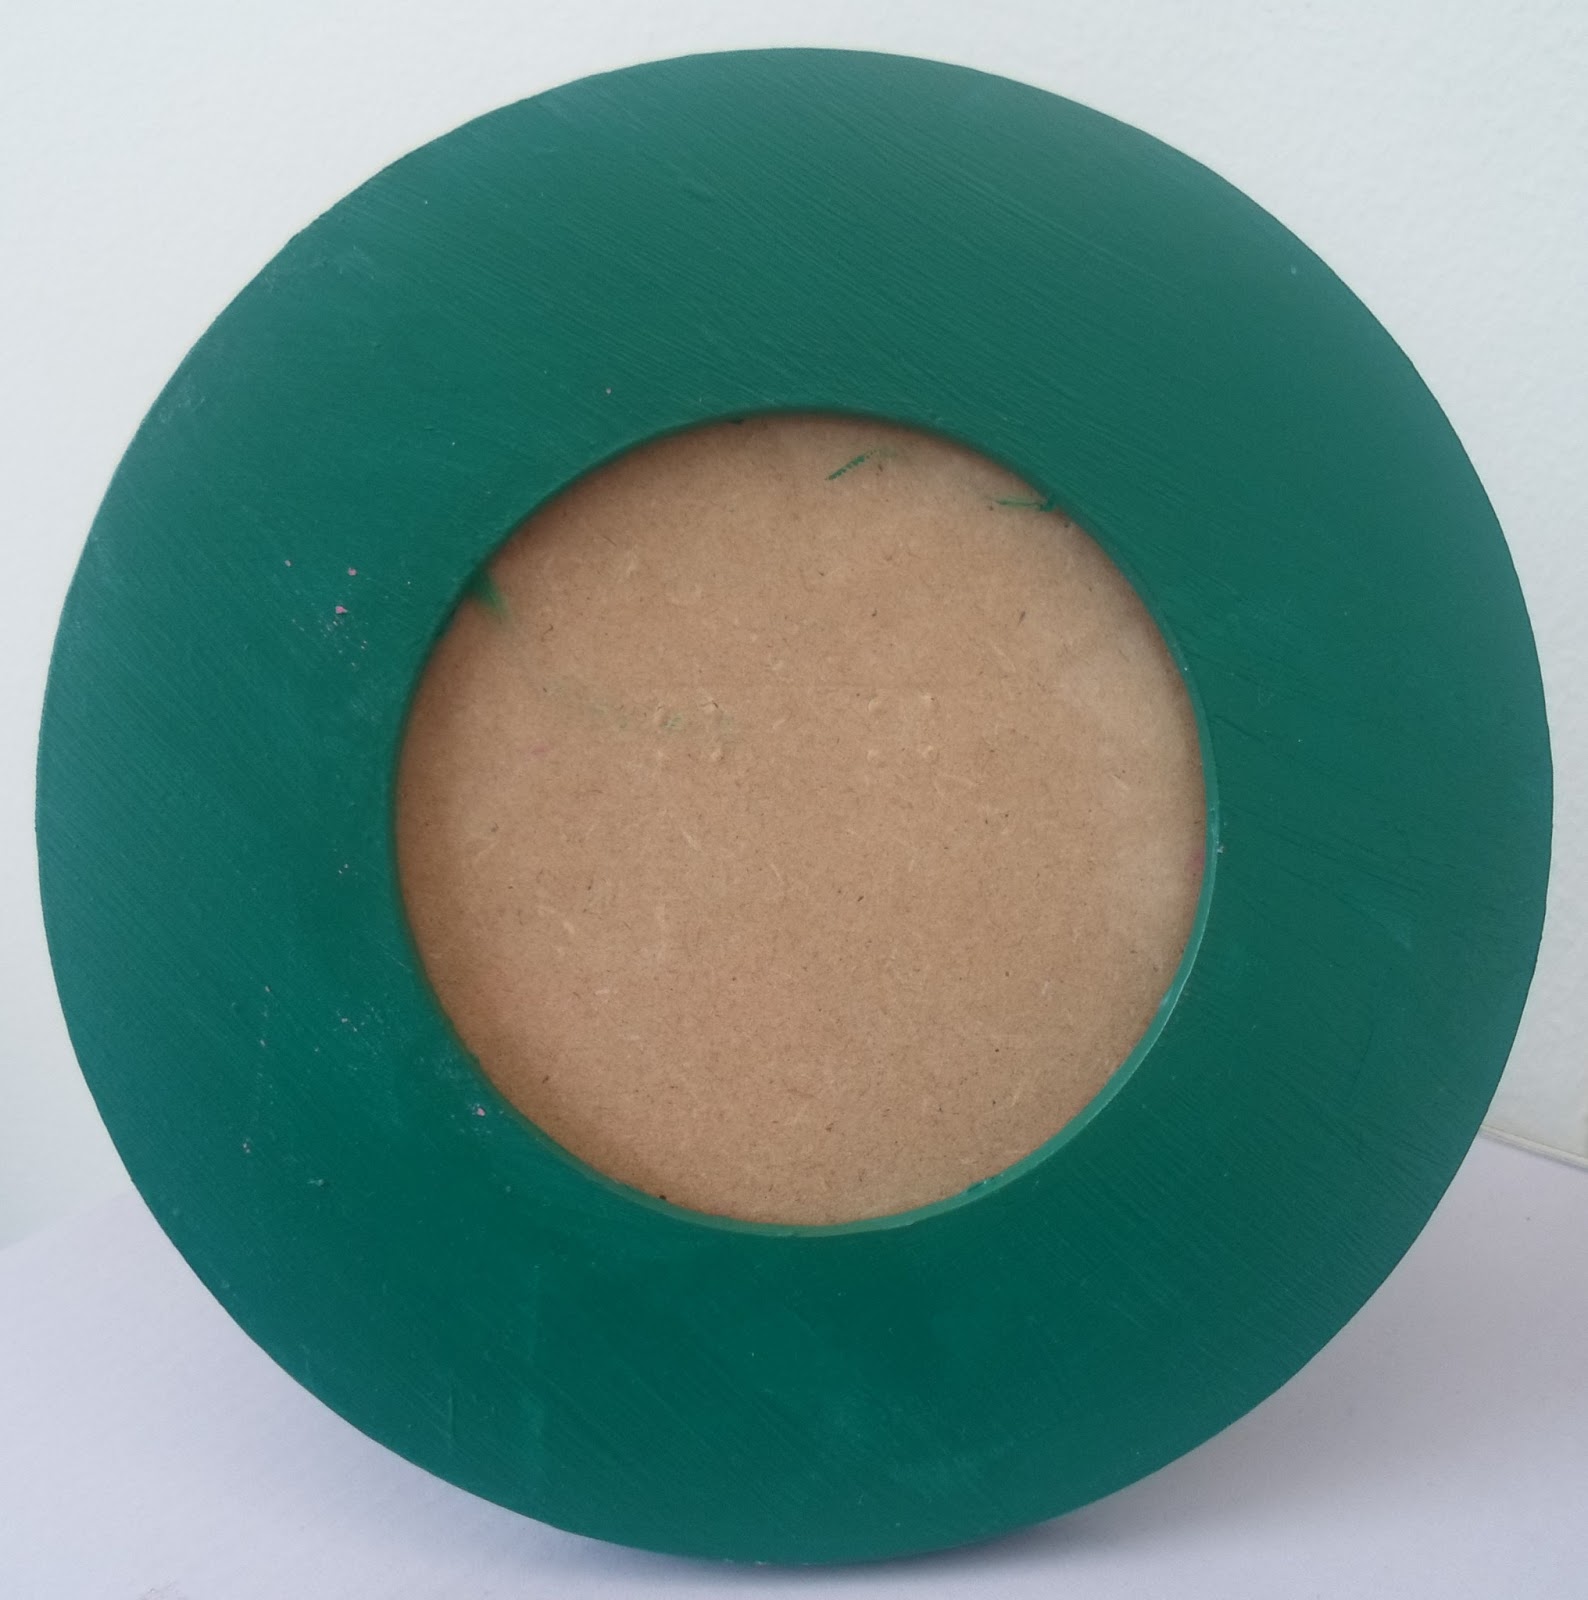
I have chosen one paper from the pack which goes rather well with a photo frame that I had painted with acrylic paint several weeks ago but hadn't done anything with! This was a charity shop find and cost me 50p - I bought the two that they had and you can see the other one here.


I started by using Mod Podge to adhere strips of the paper to the frame, coating both the frame and then the paper. I ran a black ink pad around the edges.


I then used Cosmic Shimmer acrylic glue to attach crushed black Card Candi from Craftwork Cards around the centre of the frame and then used Pin Flair 3D glue around the outer edge to attach some faux beading, also black.


The thing I love about the Tsunami Rose papers is that you can print as much as you like!! I printed off another two sheets of this paper and ran it through my Cuttlebug with the Tim Holtz Tattered Florals die and Marianne Creatables Chinese Rose die.


I layered up the flowers, shaping them and again using the Cosmic Shimmer glue to stick the layers together. I also ran a black dye based ink pad over the edges in keeping with the frame. I think the Mod Podge on the frame has made the paper flowers look a slightly different colour but I feel it still works. Since taking these photos, I have ran the black ink over the top flower here which I seem to have missed!!


Here's a close up of the flowers. The paper has script and damask and old postcards on it, looks fabulous and really works with the other papers but for this project I decided to stick with the one paper to keep it monochrome.


I hope you like this frame! Why not join us over at Tsunami Rose Designs Wednesday Challenge - You do not have to use the TRD papers but we do love to see what you can do with them!

Here are all the links you need! And check out the special offers at the online shop!!!

Mo xxx


 Tsunami Rose Designs Links 

Wednesday, 3 April 2013

Tsunami Rose Challenge 14: Anything Goes

YAY!!!! The day is finally here! My first DT project for Tsunami Rose Designs! I am a new member of the Design Team for April and have stepped out of my comfort zone and harnessed my inner Goth for this first challenge project!

The papers are a sumptious pack called 'Damask Madam' and they are stunning - blacks and pinks with harlequin, damask and rose prints, with distressing and musical notes and just beautiful images! I love these papers and you can buy your very own set here!

So, what did I do for my first assignment? Well, here's how it started - strips of the gorgeous papers, a ribbon rosette and a satin ribbon bow!


The strips were mod podged onto a chipboard door hanger shape and left to dry, cut out and the edges painted with black acrylic paint. I used my hot glue gun to adhere the ribbons and rosette and the paper strip under the hole.

I found a fabulous vintage button in my mother's old button box which I attached to the rosette and added a couple of feathers under there for more dimension.

The metal heart shape has been stuck on the front of my box of embellishments for months and I knew I had to use it - it has wire and little pearls wrapped around it. 


Some paper flowers and sticky sparkles finish off the hanger - as well as some Frosted Lace Stickles Glitter Glue around some of the painted edges.

I hope that you will come on over the Tsunami Rose Blog and have a go at entering this weeks Wednesday Challenge! The theme this week is anything goes and you DONT have to use the Tsunami Rose products in your project - although we do love to see what you can do with them!

Mo xxx

All the links that you need are here - 


April 3-April 9, 2013


 Tsunami Rose Designs Links 

Monday, 1 April 2013

Altered Journal for Tsunami Rose Designs

Hope you are all enjoying the post Easter bloating and feelings of over indulgence!

Today I have been working on an Altered Journal for this week's Wednesday Challenge over at the Tsunami Rose Designs Blog! I am on the Design Team for April and have my first DT project ready to go on Wednesday but I'll tease you a little with this which I'm entering into the current Challenge!

I have used the Tsunami Rose Designs Lifes Abloom Printable Journal Kit to alter these pages - there are papers, tags, postcards, pockets, and lots of other ephemera to cut out and play with! You can order these from the Tsunami Rose shop here.


 For the front i've used the XCut Petal Posy dies to cut flower shapes from one of the gorgeous papers in the kit, i've adhered these with a diamante in the centre. I added lace ribbon down the outer edge at the spine and cream lace on the inside of the front cover - peaking out the edge. Two tickets and some more sparkle finish the front.


The flower on this ticket was painted with Tim Holtz Crackle paint in Clear Rock Candy and some heirloom gold perfect pearls rubbed into the cracks for a distressed look. I also added gold embossing powder round the edges using a glue pen and heat gun. 


These show the first two pages inside the journal - its a work in progress so i'll try and show more in a few weeks when I find more time to work on this! I've used more of the papers tags from the kit as well as a pocket. Some Tim Holtz stamps in Black Tuxedo Memento were stamped directly onto the page - i think this might be too dark.... One of the tabs from the kit finish the page.


This is very much a learning curve for me.... the first time i've undertaken such a large and potentially detailed project. I need to expand my stash and work on gathering more bits and peices to add to the pages.
I think I shall be working on this for some time!

Here's all the info you need for Tsunami Rose and you still have some time to enter this week's challenge!

Tsunami Rose Blog: http://tsunamirosedesigns.blogspot.com/
Tsunami Rose Zibbet shop: http://www.zibbet.com/tsunamirose
Tsunami Rose Etsy Shop: http://www.etsy.com/shop/TsunamiRose
Tsunami Rose Facebook Page: http://www.facebook.com/tsunamirosegraphicdesign
Tsunami Rose Facebook Group: http://www.facebook.com/groups/tsunamirosedesigns/


Mo xxx